Par 3 Strategy for High-Handicap Golfers
Aim for the green, not the flag
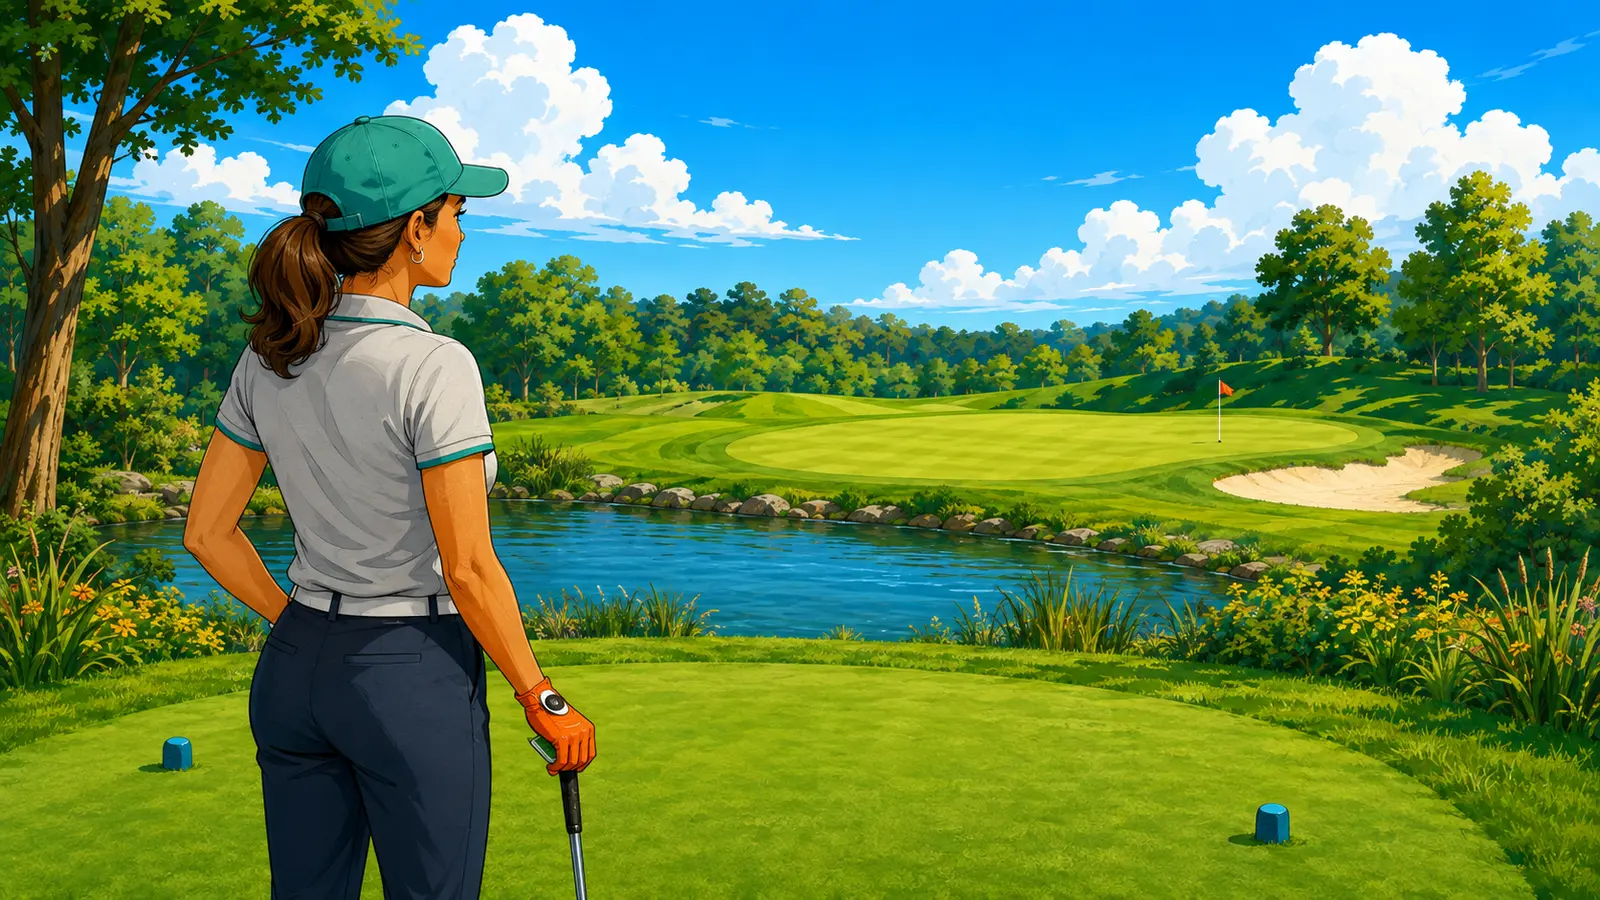
You arrive at a par 3 and can see the flag from the tee. The hole is much shorter than the par 4s and par 5s around it, so the decision can feel obvious: choose a club that reaches the flag and try to hit it close.
That is precisely why par 3 holes catch so many beginners and high-handicap golfers. The short distance creates the impression that planning is less important, even though one poor decision can bring water, a bunker, a steep slope or the area beyond the green into play before the ball has even left the tee.
A smarter plan begins with a different goal. Instead of asking, “How close can I hit it?” ask, “Where is the safest part of the green, and what shot gives me the best chance of finishing there?” For many high-handicap golfers, getting the ball onto the green and keeping it there is already an excellent result.
Why a short hole still needs a complete plan
A par 3 may require only one full shot before you begin putting, but that does not make it a simple target. From the tee, you must solve several questions at once. How far is it to the front of the green? How far is it to the safest landing area? What distance carries the bunker or water? How much room is there behind the green? Which side leaves the easiest next shot if you miss?
The flag answers only one of those questions. It tells you where the hole is cut today, but it does not tell you where a golfer at your level should aim. A flag placed behind a bunker or close to the edge of the green can invite a shot with very little margin for error. Even a good strike may finish in trouble if the club choice or target was too ambitious.
Planning therefore matters just as much on a par 3 as it does on a longer hole. The distances are different, but the decision is still about choosing a target, avoiding the worst trouble and leaving a manageable next shot.
Start with the green, not the flag
For a beginner or high-handicap golfer, the entire green is the target. The flag is simply a point inside it. If the flag is tucked near a bunker on the right, the centre or left half of the green may offer far more room. A ball that finishes twelve or fifteen metres from the hole but remains on the putting surface is usually in a much better position than a ball aimed at the flag that finishes in sand.
This is not timid golf. It is a choice that matches the difficulty of the task to the golfer’s current ability. Hitting a small area near the hole demands much more accuracy than hitting the larger safe area of the green. When your normal shot pattern covers a wider area, your target should give that pattern room to work.
There will be days when a safe target produces a shot that finishes close to the flag anyway. Enjoy it when it happens, but do not make that occasional outcome the basis of every decision.
Know the distances that actually matter
Before choosing a club, look beyond the single number shown for the hole. The distance to the flag is useful, but the front, middle and back of the green often matter more. You should also know the carry distance required to clear any bunker, water or rough directly in front.
Suppose the flag is 132 metres away, the front of the green is 118 metres, a bunker must be carried at 114 metres, and the back edge is 145 metres. Those numbers tell a fuller story. A club you normally carry 116 metres may occasionally reach the front, but it leaves almost no margin over the bunker. A club that reliably carries farther can make the safe middle of the green a realistic target.
The important word is carry. A ball cannot use roll to cross water or a front bunker. If an obstacle must be cleared through the air, compare that distance with how far you normally carry the club, not the total distance the ball reached after a perfect strike on a firm practice ground.
Choose the club for your normal shot, not your best-ever shot
Many golfers remember the longest shot they have hit with a club and quietly treat it as their standard distance. On the course, that can lead to choosing too little club and asking for an unusually good strike simply to reach safety.
A better choice is based on your realistic, repeatable distance. If your seven iron sometimes travels 140 metres but normally carries closer to 128 metres, the lower figure is the useful planning number. The shot does not need to look impressive. It needs to give an ordinary swing enough club to reach the intended area.
Taking more club does not mean trying to hit harder. It often allows you to make the same comfortable swing while giving the shot a better chance to carry the hazard and reach the green. The objective is not to prove which club you can use; it is to choose the club that makes the plan more achievable.
Landing on the green is not enough—the ball must stay there
A shot can land on the putting surface and still leave you in difficulty. If it arrives too low, too fast or with too much remaining roll, it may run through the green. Beyond the back edge there is often a bunker, heavy rough, a downhill bank or very little room before another problem begins.
That means your plan should include the landing and what happens afterwards. Consider the firmness of the green, whether the ground slopes away from you, the wind, the club’s usual ball flight and how much space remains between your target and the back edge. On a firm or shallow green, simply choosing enough club to reach the flag can create a new risk if the ball is unlikely to stop.
The safest target may therefore be short of the flag but comfortably beyond the front hazard. It may be the widest part of the green, or the side where the ground is flatter and the next shot is simpler. Good course strategy protects both the landing and the finish.
Do not try to look clever—make the safe decision
Par 3 holes can create pressure because everyone in the group is watching from the same tee and the flag appears temptingly close. It is easy to feel that the impressive choice is to attack the hole directly or use the same club as another player.
Your scorecard does not reward style points. Another golfer may hit farther, launch the ball higher or have a much tighter shot pattern. Their club and target may be completely wrong for you. A calm decision based on your own distances and your own normal miss is more useful than copying a choice that does not fit your game.
Safe does not mean aiming without ambition. It means removing risks that do not need to be taken. When a bunker guards the flag but the other half of the green is open, choosing the open half is not giving up. It is giving your shot a larger, more forgiving destination.
A practical par 3 example
Imagine a 138-metre par 3. Water protects the front-left corner, a bunker sits to the right of the green, and the flag is placed only a few metres behind the water. The centre of the green is 134 metres away, while the widest and safest area is slightly right of centre at about 136 metres. Beyond the back-left edge, the ground falls away.
The tempting choice is to aim at the flag. Yet that target brings the water and the downhill area beyond the green into the picture. A slight pull is wet, while a shot that flies farther than expected may leave a difficult recovery.
The smarter plan is to aim at the broad area just right of centre, using a club that normally carries the front safely and can finish short of the back edge. The bunker on the right still deserves attention, so the target should not move all the way towards it. The golfer is choosing the part of the green with the greatest useful margin, not merely aiming at the geometric middle.
If the shot finishes on that safe section, the golfer has a putt. If it misses slightly short or right, the next shot may still be manageable. The plan has not made a good swing certain, but it has made the likely outcomes less costly.
Your 20-second par 3 planning routine
First, identify the front, middle and back distances. Second, locate every hazard that affects the shot and note the carry needed to clear it. Third, find the widest, safest part of the green and check what lies beyond it. Fourth, compare the required carry with your normal club distances. Fifth, choose a target that gives your normal shot pattern room and a club that allows the ball to reach and remain in that area.
Once the decision is made, commit to it. Do not let the flag pull your attention back towards a risk you have already decided to avoid.
Common questions
Should I always aim at the centre of a par 3 green?
The centre is often a sensible default, but the safest target depends on the hole. A large bunker, water, severe slope or very narrow section can make another part of the green safer. Look for the area that offers the most room while keeping the worst trouble away from your normal miss.
Should I use more club than the distance to the flag suggests?
Sometimes. The correct choice depends on the carry required, your realistic club distances, the wind, the green’s depth and what lies beyond it. The goal is to choose enough club to reach the safe landing area without creating an unnecessary risk of running through the green.
What if I cannot reliably carry the front hazard?
Do not force a shot that requires an unusually good strike. If the hole provides a safe area short or to one side, use it and accept the extra shot. If no safe alternative exists, choose the club that gives you the best realistic chance, aim away from the most damaging side where possible and judge the result by the quality of the decision rather than by whether the swing was perfect.
Is aiming away from the flag too defensive?
No. For a high-handicap golfer, reaching the green or leaving a simple next shot is a positive outcome. Course strategy should match your current accuracy. As your strike and shot pattern improve, you can choose more demanding targets when the risk is justified.
Final thought
The shortest full-shot holes on the course still deserve proper planning. Before you swing, look at the whole green complex, not only the flag. Know the distances that protect you from the front hazard, choose a club from your normal carry, and consider where the ball will finish after it lands.
You do not need to hit a spectacular shot. You need a clear decision that gives an ordinary shot a sensible place to go. Aim for the safest part of the green, keep the ball away from the most expensive trouble and give yourself the chance to putt.
Next step
Golf becomes easier to navigate when you understand why one target is safer than another. GolfBoosters’ Break 110 seminar helps newer and high-scoring golfers build simple hole plans, make more realistic club choices and avoid the decisions that turn one imperfect shot into several unnecessary ones.